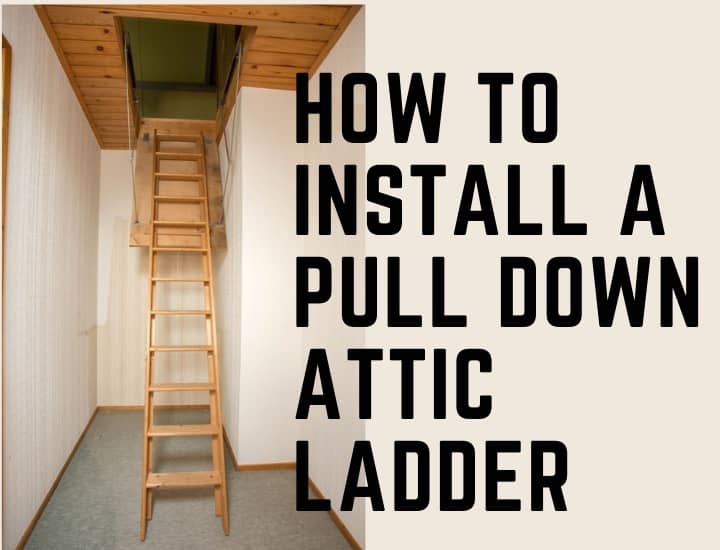
How To Install A Pull Down Attic Ladder? [Do It Like A Pro]

If you are looking for ways to broaden your storage space, adding a pulldown attic ladder is the best way to add more space. Although this may not seem easy at first, this project can be done by yourself with the right guidelines and steps.
In this article, I will provide you with the detailed guidelines and the 5 easy steps to install a pull-down attic ladder to add more storage in your house. It is important for you to find the right place to install an Attic Ladder. You also need a few important tools and kits to install an attic ladder.
Let us find out the ways to install an attic ladder and the necessary things you need to successfully get the job done. Let’s get started.
4 Easy Steps To Install A Pull-Down Attic Ladder:
It is important for you to know that installing the ladder in the right way is very essential. It may cause serious injuries and accidents if one fails to install it the right way. Here are the 4 Easy Steps To Install A Pull-Down Attic Ladder
1. Prepare Attic Opening For The Ladder
The first step is to prepare the existing opening which will determine the placement of the attic ladder. Make sure the opening measures 22.5” by 54” or for an extra-wide opening, measure if it’s 25” by 54”. You can see the instruction manual for better insight.
Make sure all the sides of the attic opening are flat, nicely repaired, and without any trims. Now, add temporary support boards to support the ladder with ¼ by 32” boards that extend the cross of each end of the openings.
For safety, the boards must be positioned and drilled with accurate drill bits properly. It is better to use 3 or 4 deck screws on each board. The first support board goes 3inches from the edge of header A where the hinge of the ladder will go.
Measure the inside of the first support board to 52.5 “ to mark where the inside edge of the second board will go. Fasten or drill the board properly with 3 to 4 deck screws and make sure all the screws penetrate the header. The support boards are firmly secured and the first step is done.
2. Placing The Ladder In The Opening:
After unboxing the ladder from the box, always remember to not remove the nylon or rope that is tied to hold the sections of the ladder until it is fully installed. Now attach the pull cord through the pre-drilled hole in the door and tie it properly.
You need another helping hand, who could help you lift up the attic ladder. Raise the ladder into the rough opening with the help of your partner or buddy. Turn the ladder into an angle to clear the temporary support board and position the ladder so that it rests securely on the temporary support board.
Adjust the ladder so the wood frame with the hinge rests tightly against the header. Be careful not to place any weight on the ladder until it is fully installed. It is time for you to square the ladder into the opening by fastening or drilling the hinged end in the header.
3. Mounting The Ladder:
Now, it is time to mount the ladder permanently and to do so, secure the ladder in the rough opening by drilling 4 to 5 ⅛ “ pilot holes and installing ¼ by 2” hex head lag screws in the header with the hinge.
Use a ¼ inch washer under the screw heads and if it is required drill and fasten all sides to make it more secure. It is time for you to remove all the support boards as the ladder is now permanently secured.
Make Sure the screw penetrates the wood only and drill it with 2 to 3 screws and now open the ladder door by pulling the cord or rope. The ladder section will still be secured with nylon ties.
4. Setting The Ladder Height:
Setting the proper height of the ladder is important because there might be extra parts you need to cut off. Measure the height from the frame to the floor. Make sure the ladder is unextended but it is fully open. Cut the nylon rope and gently place it in the room if it is needed or keep it extended.
After removing the nylon tie from the upper section of the ladder, fold the lower section of the ladder and follow the instruction. You will find the exact measurement given to cut off the extra part of the ladder for an optimum level. If it is needed, just measure the exact cut-off distance.
With a hacksaw, cut off the extra part of the attic ladder, and unfold the lower section of the ladder. Make sure the ladder section is fully extended, and the support arms are fully open to attach the ladder feet. Place the attachment feet on the side rail, and apply pressure to place it correctly.
First, mark a location, and drill a hole into the side rail. After that, adjust it accordingly, and install the adjustable foot. Lastly, tighten it with a quarter-inch hex head screw and lock nut. Repeat the entire procedure onto the other side to successfully install your pull-down attic ladder.
Things You Need To Install A Pull Down Attic Ladder:
You need some basic tools and kits to install an attic ladder properly and securely. However, if you are not confident enough, it is recommended to seek for or call in a professional service.
- Carpenter Square;
- Drill Bits ( ⅛ “, 9/32” );
- Hammer;
- Pencil;
- Hacksaw;
- Screw Driver;
- Tape Measure;
- Step Ladder;
- Googles;
- Protective Masks.
Additional Materials That Will Ease Your Job:
- Deck Screws
- 1×4 Support Boards
- Shims
3 Skills That You Must Have To Install A Pull Down Attic Ladder:
- Aligning Skills
- Sawing Skills
- Squaring Skills
If you feel something is not right with the attic ladder after checking up, do not proceed with the installation. Hire a professional to avoid any kinds of accidents.
How Much Does It Cost To Install A Pull Down Attic Ladder?
If you hire a professional service, the installation cost will be around $220-$400. However, if you are skilled enough and confident to install the attic ladder on your own, the estimated costs of the materials are given below.
| Materials | Price |
| Attic Ladder/Stair Price (Wooden) | $200-$800 |
| Utilities( Screws, drill bits, tapes, etc.) | $30-$70 |
| Hammer, Hacksaw, Step Ladder | $40-$80 |
| Paint | $30-$60 |
| Trims | $40-$70 |
| Total Price | $350-$600 |
The price may slightly vary and differ according to the material of the ladder. An Aluminium or steel ladder usually costs less than wooden attic ladders.
How Long Does It Take To Install A Pull Down Attic Ladder?
Though it depends on your work efficiency, in general, a minimum of 2-3 hours is required to install a pulldown attic ladder. However, by following the above simple 4 steps, you can do it more smoothly and quickly.
Conclusion:
Always make sure to go through the instructions before any DIY project and keep a helping hand to assist you. If you find this article informative enough, don’t forget to share it with others.


