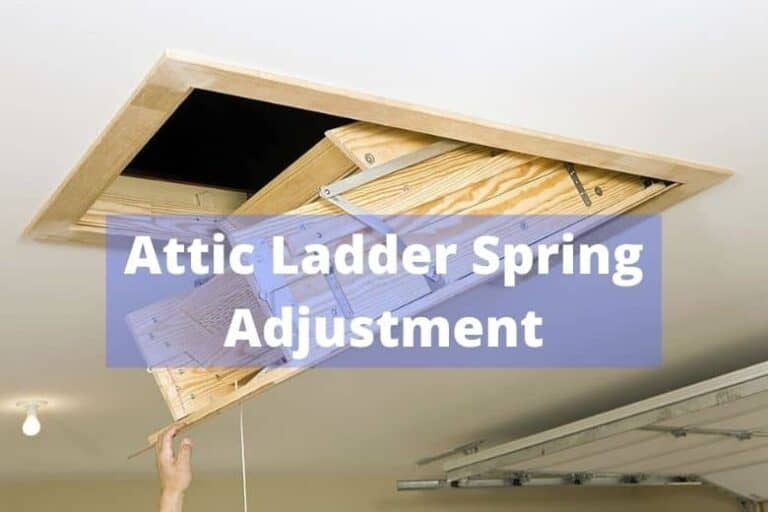
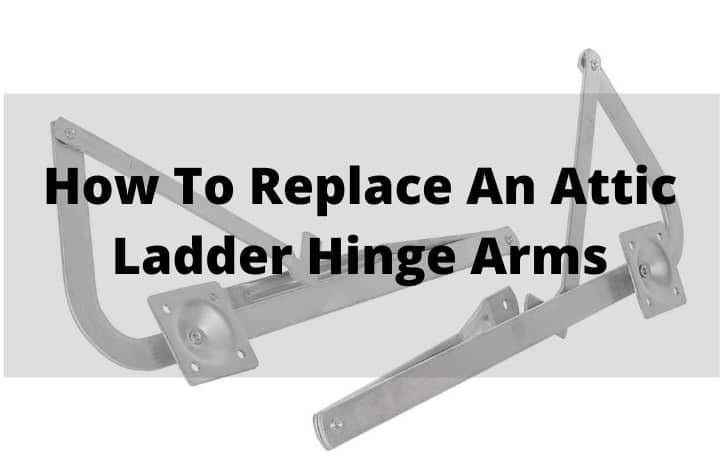
How To Replace An Attic Ladder Hinge Arms? [Do It Like A Pro]
Isn’t it impossible to replace an attic ladder hinge arm by yourself? I do agree with you if you are new to this job, or not that much experience yet. But, I’ve come up with simple ways to make your imaginary thoughts into real ones. You might be wondering why you should trust me? Well, you are right in a sense until you haven’t got ideas about me.
I have been on this job for over 10 years. I believe if you are with me till the end of this article, you would love to trust me. What you need to replace an attic ladder hinge arm is to follow some easy steps which I am going to spell out so that you can do it yourself.
So, why delay? Let’s get started to learn the easy steps to replace the antic ladder hinge arm:
11 Simple Steps To Replace Attic Ladder Hinge Arms:
Probably, you have been living in a house where you use an attic leader. But this staircase installation has been aged, and it doesn’t work as smoothly as before.
Now you are thinking of replacing the attic ladder hinge arms, but how? Will you go to a professional to fix the problem or you will do it yourself?
Here I’ve come up with the complete solution. Thus, you will be able to replace your old attic ladder hinge arms on your own like a pro. Why delay? Keep reading then:
Step 1: Measurement
Inspecting the installation place is a prerequisite necessity. Now, you should measure both the sides of the attic ladder hinge arms using any measuring tape, available near you. Or, you can get the exact size of hinge arms like the previous one attached to the staircase.
Step 2: Select The Attic Ladder Hinge Arms
This is the most vital part of replacing attic ladder hinge arms because you have to pick out the right one to ensure quality. Amid several brands, my recommendation for you is to get Werner 55-1 – Attic Ladder Spreader Hinge Arms – MFG 2006 and Older – (Pair).
Step 3: Remove The Spring
It is recommended to have another person to assist you in replacement. While you are on the overhead of the ladder, he or she should help you stand on the ground.
Upon closing the access ladder by the assistant, you need to carefully remove the spring which is attached to the old attic ladder. It is suggested to bend the metal arms forward to release the tension so that you can easily remove the spring from the old attic staircase.
Step 4: Remove The Hinge Arms
Now, break off the hinges of the attic ladder which are placed on the ladder arms. To do so, you can use a reciprocating saw. Besides, you need to cut off the screws or nails that catch the attic ladder to the frame opening.
Step 5: Open The Attic Ladder
Once the spring is removed, the person standing below should carefully open the attic ladder. Now, unfasten the sections of the attic ladder folded. It is suggested that the person should not stand directly just right below the ladder to avoid unexpected injury.
Step 6: Mark The Pilot Hole Area with A Center Punch
It is wise to use a center punch to locate the measured hole area before drilling. Now, push into the head of the rivet until the rivet head falls off. Tap the head of the rivet with the chisel and hammer if necessary.
Step 7: Drill Pilot Holes
Before making a pilot hole, make sure the kit is square and straight, and the ladder is free from bowing.
On the accuracy of the frame, it is time to make pilot holes. Select the right drill bit according to screw size. Upon right selection of the bit, now drive the drill into the attic ladder frame and the rafter using the pivot plate as a guide. Make sure the rivet remains in the pilot hole so that it doesn’t interpose with drilling.
Step 8: Insert The Screws As Per Guided Hole
Now, it is time to drive the screws into the drilled pilot holes. Before that, first, place the washer on the lag bolt. Then drive the lag bolt into the pivot point and the frame straight away. Now, ingraft the lag bolt as long as they are firmly attached against the pivot plate.
Step 9: Attach The Hex Head Bolt To The Rail
This time you need to join the lower part of the kit. Install the frame to the rail with the hex head bolts. Place the washer and lock the nut. Make sure you place the head of the bolt against the mechanism, and the washer must be against the inside of the rail.
Step 10: Shut The Ladder
Now, the person on the ground should close the attic ladder so that you can place the spring to the new frame.
Step 11: Check The New Spring Movability
To ensure if the replacement is successful or not, you need to open and shut the attic ladder several times. If it moves smoothly, it means you have done all the replacement mechanisms successfully. Besides, it is important to check whether the lag bolt and the carriage bolt are tight enough. Now, check the same procedure for the other side.
What Are The Required Tools To Replace Attic Ladder Hinge Arm?
Here is the list of those things that you require to replace the attic ladder hinge arm:
- Measurement Tape;
- Attic Ladder Hinge Arms Frame;
- One Assistant;
- Hammer;
- Center Punch;
- Drill Machine;
- Chisel;
- Half Inch Wrenches;
- Reciprocating Saw.
What Are The Popular Attic Ladder Hinge Arm Frame? (Price Range)
Here is the list of popular Attic Ladder Hinge Arm Frame with their approximate price:
| Brand’s Name | Price |
| Werner 55-2 (Spreader Hinge Arms) | $57.99 |
| Pair Hinge Arms – MFG 2006 | $45.99 |
| Warner – Model 55-1 | $97.99 |
| Warner (Counter Balance) – 55-1 | $99.00 |
Last Few Words:
From my practical knowledge, throughout the article, I tried my best to present to you the easy steps to make the attic ladder hinge arms replacement facile and successful. I hope you are ready now to replace your old attic ladder hinge arms, aren’t you?
Let me know if you have any other queries by commenting below.